
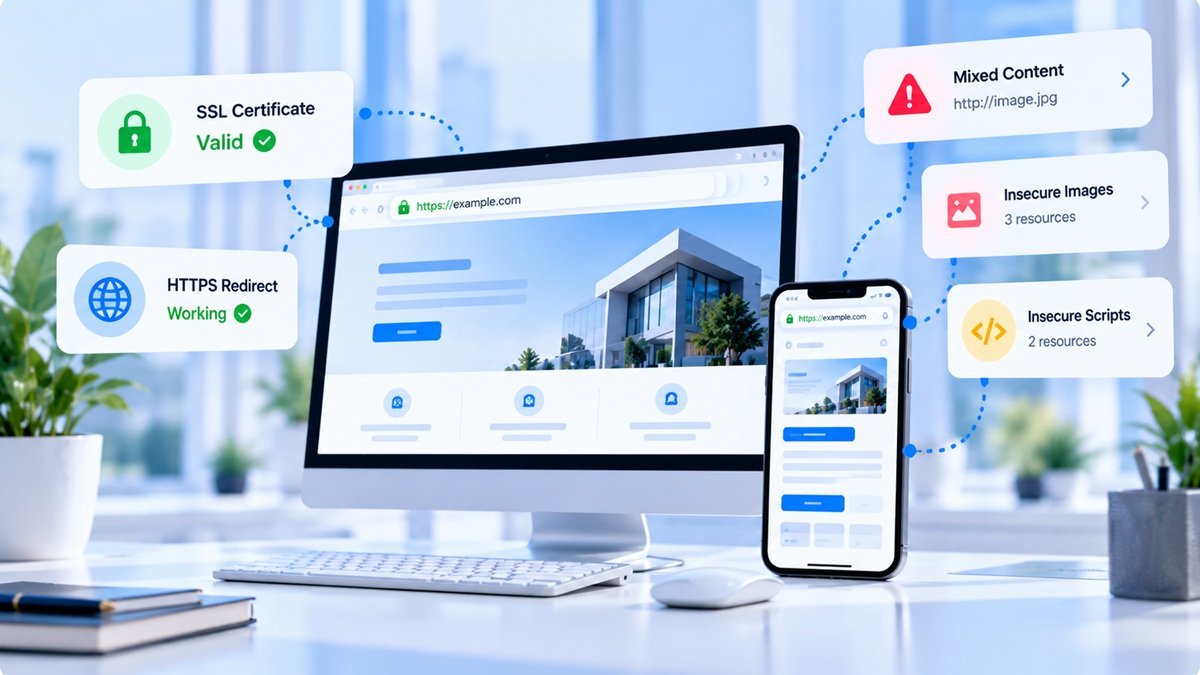
You installed an SSL certificate, changed your website to HTTPS, and confirmed that your homepage opens securely.
Then a visitor reports a security warning.
You check the website again and notice that something still isn’t right.
It’s tempting to assume the SSL certificate needs to be reinstalled. But before making changes, identify the exact warning.
HTTPS protects the connection between a browser and a website, but it doesn’t automatically make every part of a website secure.
1. Identify the exact browser warning
Start by recording the full message.
Is the browser reporting:
-
An invalid or expired certificate?
-
A certificate that doesn’t cover the domain?
-
A connection problem?
-
Insecure content on an otherwise HTTPS page?
-
A warning about the website itself?
These are different issues and require different fixes.
2. Check whether the certificate is valid
Verify that the certificate:
-
Has not expired.
-
Covers the domain being visited.
-
Is served correctly by the web server.
-
Includes the required certificate chain.
-
Is configured for both the root domain and relevant subdomains, where applicable.
For example, a certificate configured only for example.com may not cover www.example.com unless the certificate includes that hostname.
3. Investigate mixed content
Imagine your page opens at:
https://example.com/But it loads an image from:
http://example.com/banner.jpgThe page is HTTPS, but the image uses an insecure HTTP URL.
Similar issues can occur with scripts, stylesheets, fonts, and embedded content.
Open Chrome DevTools and check the Console for mixed-content messages. The Network panel can help identify which resource is responsible.
4. Check hard-coded URLs
Old HTTP links can remain in:
-
WordPress database content
-
Theme files
-
Custom CSS
-
JavaScript
-
Page-builder settings
-
Plugin configuration
-
Embedded media
If the problem began after moving a website to HTTPS, search for outdated URLs before changing the server configuration.
Always back up the website and database before performing bulk URL replacements.
5. Review redirects
Check what happens when visitors enter the HTTP version of your website.
The HTTP URL should generally redirect to the intended HTTPS URL, without creating loops or unnecessary redirect chains.
Also make sure your internal links and canonical URLs consistently use the correct preferred version.
6. Don’t confuse HTTPS with complete website security
A valid certificate doesn’t prove that your website is free from malware, vulnerable plugins, weak passwords, or application security flaws.
If the warning mentions malware or deceptive content, investigate that separately. Reinstalling SSL alone won’t fix a compromised website.
7. Retest the affected page
After making a change:
-
Clear relevant caches.
-
Open the affected URL in a private browser window.
-
Check the certificate.
-
Inspect the browser Console.
-
Test the page’s important resources.
-
Check other pages using the same template.
Don’t declare the issue fixed until the actual warning has been resolved.
Security troubleshooting checklist
-
Identify the exact warning.
-
Validate certificate expiry and hostname coverage.
-
Check the certificate chain.
-
Inspect mixed-content errors.
-
Review HTTP resources and hard-coded URLs.
-
Check redirects.
-
Investigate malware warnings separately.
-
Retest affected pages after changes.
Final thoughts
A security warning should never be ignored, but it shouldn’t be treated as proof that the website has been hacked either.
Find the precise warning, identify the resource or configuration responsible, and fix that specific issue.
SiteAuditScan can help surface technical security and configuration issues, while browser developer tools and certificate checks can help you investigate the cause.