
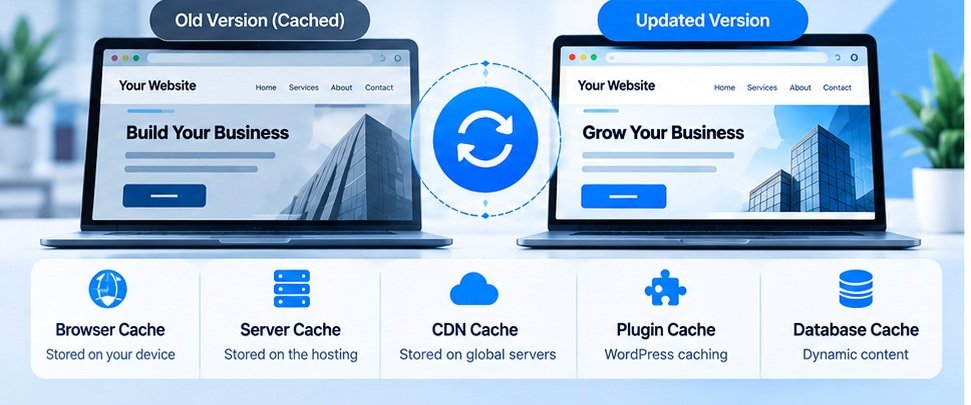
You update your website.
You change the homepage banner.
You update some text.
You replace an image.
You publish the changes.
Then you open the website.
The old version is still there.
You start wondering whether the update failed.
Before uploading the same files again, check whether caching is responsible.
What Is Caching?
Caching is designed to improve performance.
Instead of rebuilding or downloading the same resources every time, a browser, server, or CDN can temporarily store them.
That can make websites load faster.
The problem occurs when an older cached version remains available after you’ve made an update.
Your Browser May Be Showing the Old Version
The simplest possibility is your browser cache.
Try opening the website in a private/incognito window.
You can also test from another device or browser.
If the updated version appears elsewhere, your original browser may simply be using an older cached resource.
WordPress Caching Can Add Another Layer
If you use WordPress, caching may happen through:
- A caching plugin
- Hosting-level caching
- CDN caching
- Browser caching
Clearing only one cache may not clear all of them.
This is why developers sometimes say:
“Please clear the cache.”
They’re not necessarily being vague.
There may genuinely be several caching layers.
CDN Caching
A Content Delivery Network can store website resources across multiple locations.
This improves performance for visitors in different regions.
But when you update an image, CSS file, or JavaScript file, the CDN may continue serving the older version until the cache expires or is purged.
If your website uses a CDN, check its cache settings when updates aren’t appearing.
Be Careful With Cache Clearing
Clearing caches repeatedly isn’t a permanent performance strategy.
The goal is to configure caching correctly so that visitors receive fresh content when necessary while static resources remain efficiently cached.
For example, frequently changing content may require different caching rules from a logo or static image.
How to Troubleshoot
If an old version is showing:
Step 1: Open the page in private browsing.
Step 2: Test another browser.
Step 3: Test another device.
Step 4: Check your website’s caching plugin.
Step 5: Check hosting-level caching.
Step 6: Check CDN caching.
Step 7: Check whether the updated file has actually reached the server.
This process is much better than repeatedly re-uploading the same file.
Don’t Forget CSS and JavaScript
Sometimes the page itself has updated, but the styling still looks old.
This can happen because the browser is using an older CSS or JavaScript file.
Developers often use versioning techniques to make browsers recognize that a resource has changed.
This is particularly important after major design changes.
Use an Audit as a General Health Check
Caching is only one part of website maintenance.
When troubleshooting a website, it can also be useful to check other technical areas at the same time.
SiteAuditScan provides a broader website scan covering areas such as SEO, performance, security, accessibility, UX and technical signals.
That doesn’t replace debugging your specific cache configuration, but it can help you spot other issues that may have appeared during the same website update.
Final Thoughts
When an old version of your website appears, don’t immediately assume the update failed.
Caching exists precisely because websites store copies of resources to improve performance.
The trick is understanding where the old copy is coming from.
Check the browser.
Check your WordPress cache.
Check your hosting cache.
Check your CDN.
Then confirm that the updated files are actually on the server.
Once you understand the caching layers on your website, these mysterious “I changed it but still see the old version” problems become much easier to troubleshoot.